When I had a fully rigged character I was able to move on to ‘Weight Painting’. Weight painting ensures that if I moved one part of the body another part of the body will not move with it and therefore creates more realistic movement. Unfortunately my characters mesh was split into a lot of different sections so the weight painting was quite difficult.
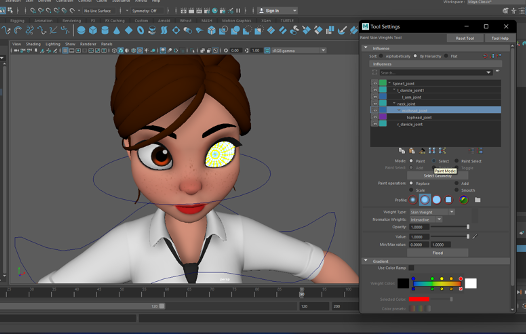
I started with the head, including the eyes. I would change the values to one by using the select tool on the weight painting menu to select vertices and ‘flood’ them. When the head was finished painting, I tested it by rotating the head. Unfortunately I experienced some stretching, when this happened I would adjust the painting by using the smooth tool and the paint tool. This process was all trial and error.
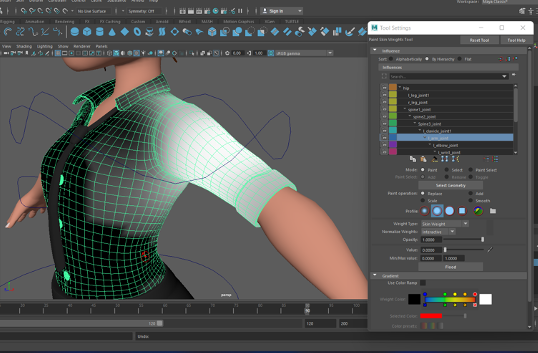
As I said earlier, I had a few problems with the weight painting. I had to weight paint the base body mesh and also the clothes as they were separate meshes and therefore moved separately. Before I learnt that they were separate, the body would end up sticking out of the clothes after weight painting, to fix this I had to just keep adjusting the values and smoothing.
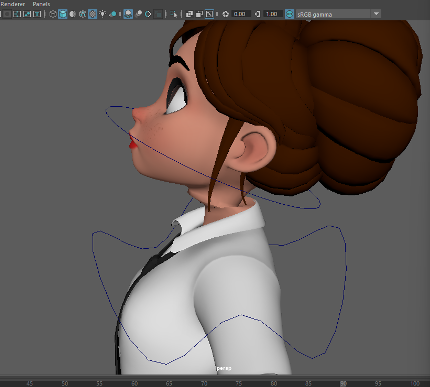
AFTER:
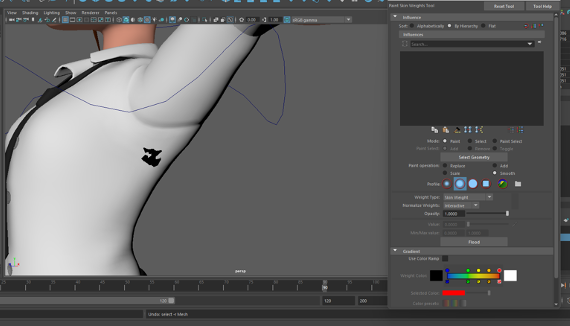
In this process I realised it was better to use the select vertices and flood them with the value zero as this ensured that there was no other values left on the other parts of the body.
