The first step in the animation process was to rig my character, I had to use a premade character provided on Canvas as my original character would not work. I chose the ‘waitress character’.
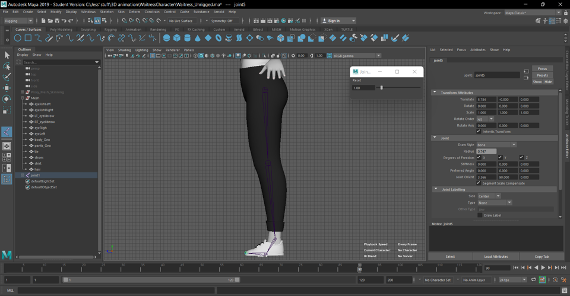
The first thing I had to do was create the joints using the ‘Create Joints’ tool in the skeleton menu and clicking on the model where I wanted the joints to be. Luckily I only had to create joints for one side of my model (minus the hips, spine and head) as I could mirror my joints on the YZ axis to create them on the other side. When creating the leg joints I used the side view so that I could put the joints in a more accurate position and so that the joints would work correctly.
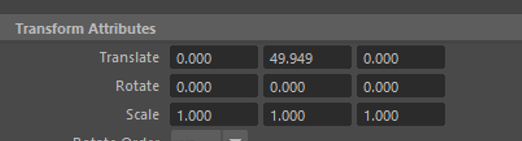
I worked up the leg and eventually created the hip joints, I made sure this was in the perfect position by inputing 0 into the x axis option on the transform attributes section, it needed to be perfectly centred so that mirroring the arm and leg joints would work correctly.
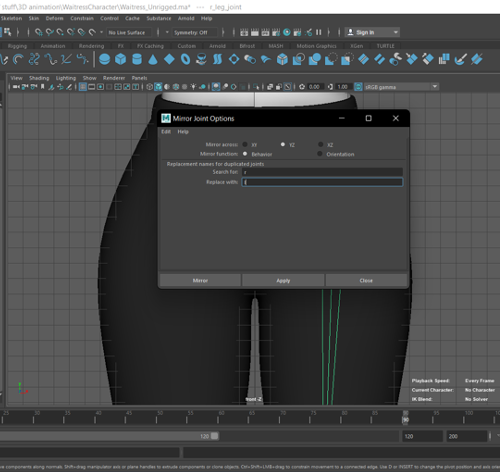
When I had created all of the leg joints I had to rename them before I could mirror them. Later on I realised that it was actually supposed to be ‘L_leg_joint’ and I changed this accordingly. I had to name them this so that I could mirror them accurately and know the difference between the joints when there would be two of them.
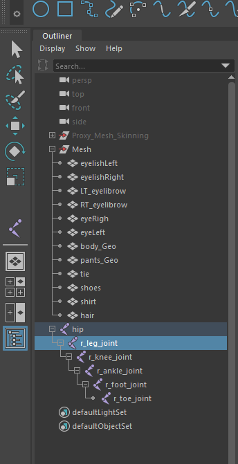
Then I was able to mirror my leg joints. I mirrored them across the YZ axis and I had the option to make it so that they would be named the same as the other joints, but instead of ‘R’ it would be changed to ‘L’ to know them apart.
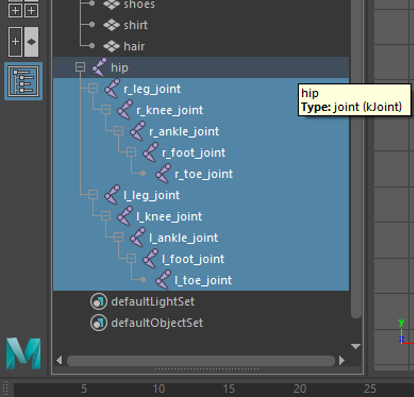
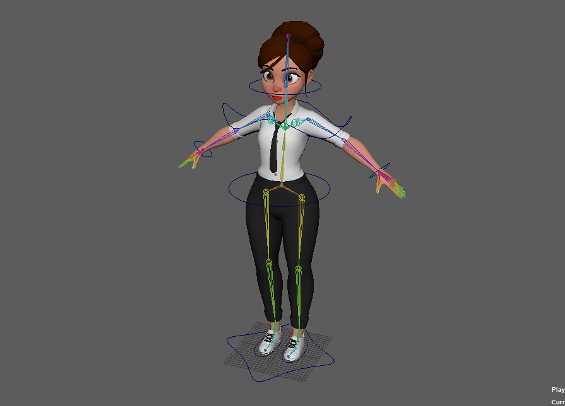
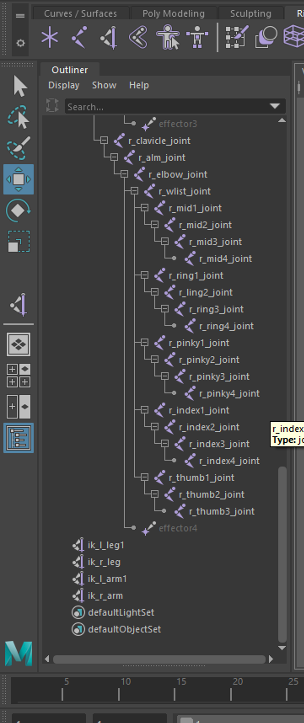
After I had created the leg joints, I started on the arms using the ‘Create Joints’ tool again. After the arm joints had been created I moved on to create the clavicle joints. Then after this I created the spine and head joints. The spine joint is created with a slight curve as this is how the human body is naturally. All of the joints are parented under the hip.
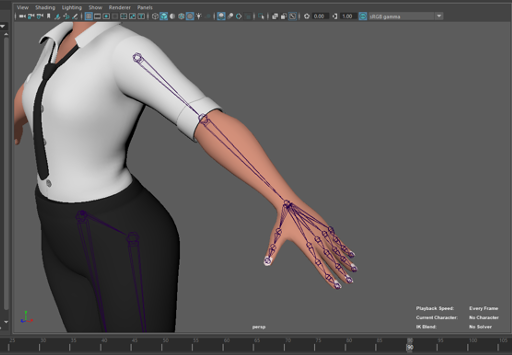

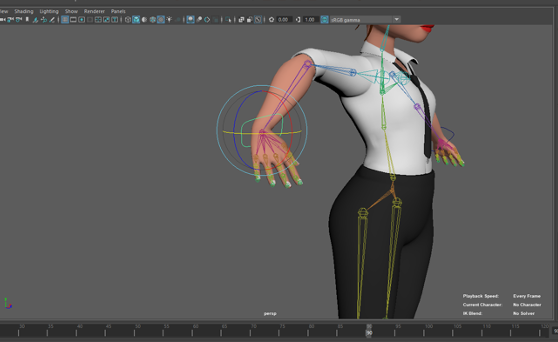
After I had added all of my joints and made sure they were in the correct positions I created IK handles for the arms and legs. I did this by using the ‘Create Ik handles’ option in the ‘Skeleton’ menu and selecting the top of the legs and the ankles, I did the same for the arm by selecting the shoulder area and the wrist.
I then had to bind the skin as the Ik handles wouldn’t work correctly unless they were bound to the actual mesh. To do this, I selected all of my Ik handles in the ‘Outliner’ and then in the ‘Skin’ menu clicked ‘Bind skin’.
When I had bound the skin, I needed to create controls for my joints so that my character could move. Firstly I created the foot controls, I started by creating a circle and used the vertices option to change its shape to fit the feet. When the circles were in place under both feet, I selected the circles and the leg IK handles and created a point and orient constrain, now the foot could move up and down and the knee would bend. I then followed the same process for the hands , the hip, chest and head.
When all of the controls had been added, I was able to move on to the next part of set up which is called ‘weight painting’.