When I had finished animating my character I began to set up the video. This included creating cameras and light and rendering the videos. When I was creating the cameras and lighting I was thinking about how I could create the most dynamic scene. I experimented with different cameras and types of lighting to try and achieve this.
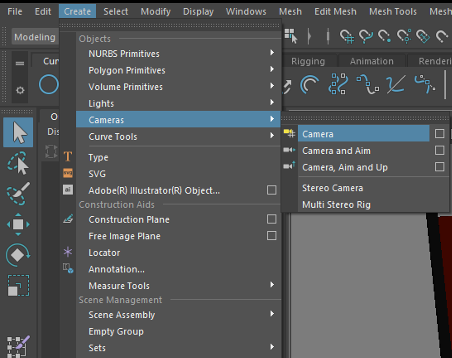
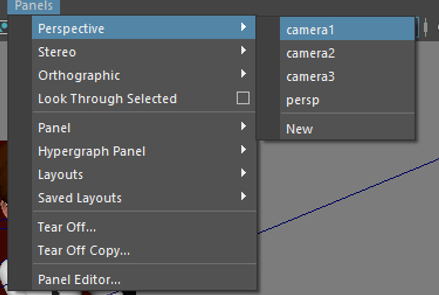
The first thing I did was create the cameras. To do this, firstly I went to ‘Create’ and made a camera. I could check the camera view in the panel bar by going to perspective and checking the camera view, I often used this viewpoint to move the camera to the place I wanted it to be. As I was using multiple cameras, I had to scroll through the timeline to see what frames I wanted to use those cameras for and how long they would last, I would then make a note of this to use for the rendering later, I repeated this process for all of my cameras in my three animations.
For some shots I used different types of camera to create the effect that I wanted. For example in my throne animation I used ‘Camera and aim’, the aim of this camera was set to the centre of her. This meant that when I animated it by rotating the camera and key framing it into position, it would focus on my character but also move with her. I also experimented with cameras In my characters walk sequence; I animated the camera to follow her by using keyframes and then moving the camera.
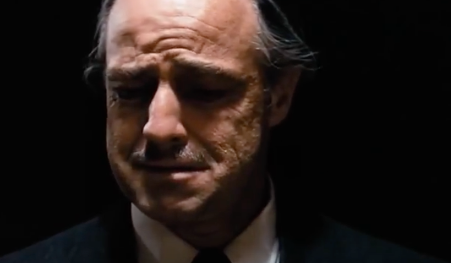
After the cameras had been set up I would add the lighting by going to the ‘Create’ menu and making a light. I really experimented with this in my throne animation as I created a ‘Directional Light’ above her head to cast some heavy shadows over the face. I did this to illustrate her evilness as she is the queen of the underworld. This is also a technique used in the film ‘The Godfather’ in which in one of the most important, darkest scenes Marlon Brando has a light directly above him which casts extreme shadows across his face.
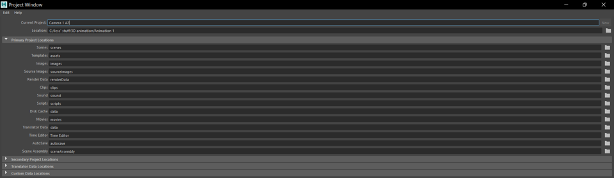
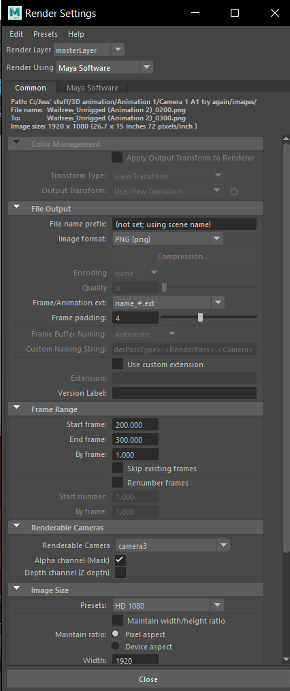
Rendering my videos was the final step in creating these animations. Firstly I went into, ‘Render Settings’ and then to ‘Edit’ and then to ‘Change Project Image Directory’. This sets up a ‘Project Window’, inside this project window it will have a folder called ‘Images’ in which the final rendered images will be exported in to. I used the Maya software when rendering these sequences.
In ‘Render Settings’ I changed the image format to ‘.png’, and I then changed the ‘Frame/Animation ext’ to: ‘name_(hashtag).ext’ This means that after exporting I will be able to see the numbers of each frame in the name of the ‘.png’. I changed the renderable camera and using the notes I made earlier I entered the start frame and the end frame for that camera. For image size, changed preset to ‘1080’ in order to maintain a high quality ‘.png’.
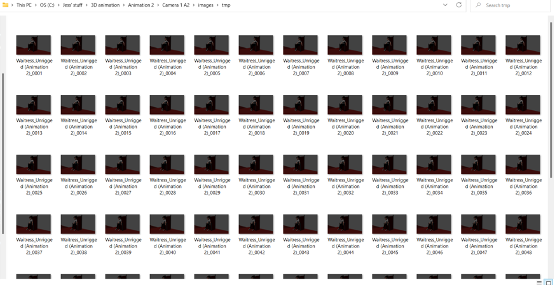
After I make sure that the render settings are all organised. I enter the render view and go to render sequence options and make sure to select the correct camera. Then I can render the sequence, this exports frames into the folder I chose earlier. I repeated this step for all the different cameras I had for each animation. This step was tedious but imperative to ensure that my animations played correctly.
After this, I went into After Effects and selected, ‘File’ and then ‘Import’, selected all of the rendered frames and under sequence options pressed ‘.Png Sequence’, this step was important as it imports the sequence as a video instead of pictures. Then I lined up my different camera sequences in order to assemble the video. Then I could export my fully finished animation.
Final Rendered Animations – separately
References
Don Vito Corleone. (2017) The Godfather: Call Bonasera We Need Him Now [Video]. Available online: https://youtu.be/A7Uq9jPg4C4 [Accessed 10/05/2022]