I really enjoyed texturing my assets. I used some stock textures from this website : https://freestocktextures.com/ and added my own editing onto them.
Freestocktextures.com. 2021. Free Stock Textures. [online] Available at: <https://freestocktextures.com/> [Accessed 13 January 2021].
But I also ended up creating my own textures in photoshop too using the paint tool.
In order to texture my assets – I would firstly go into the UV editor and create a UV snapshot of my asset by going to ‘Image – UV snapshot’

I would save this as a ‘.TIFF’ and open this in photoshop – either painting my own design on to a separate layer or importing a photo.
I also used Adobe illustrator to create some illustrations to go on to one of my assets (spy camera)

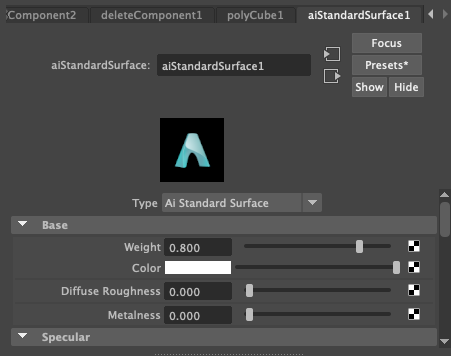
After I had created the texture I would save the file as a ‘.PSD’. Then I would go back into Maya, right click on my asset and ‘Assign new material’ I would then click into ‘Arnold’ and select ‘AiStandardsurface’

After I had selected this – this would appear:
I would click on the checkered box next to colour and select ‘File’ – then I would insert my edited ‘.PSD’ texture. Finally I would press 6 to show the texture on the asset. I would then look at how the texture looked – and adjust it if needed.