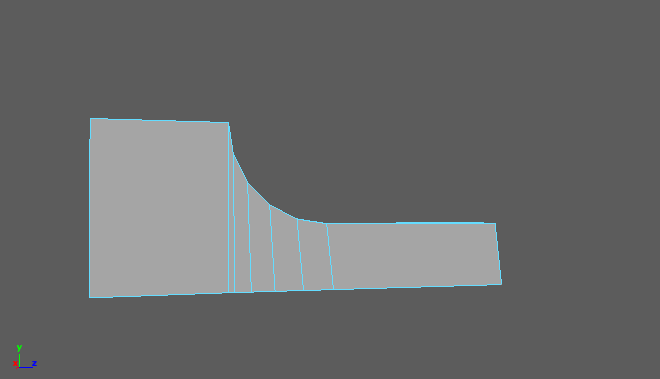
Week 3’s task was to explore the idea of high poly modelling and low poly modelling by making a crate. I first started with a cylinder and used that to make this shape. I did this by extruding and reshaping the edges.
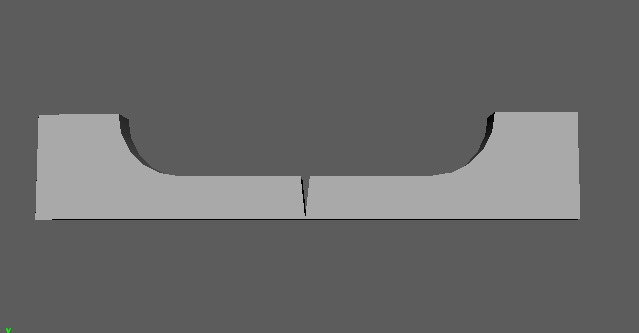
When I was happy with the shape I mirrored it to create what will be the handle. When mirroring I came across this issue – I fixed this by merging the vertices.
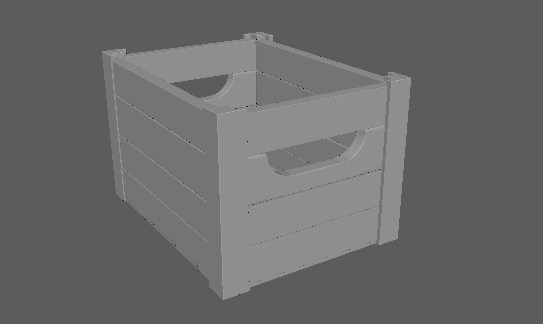
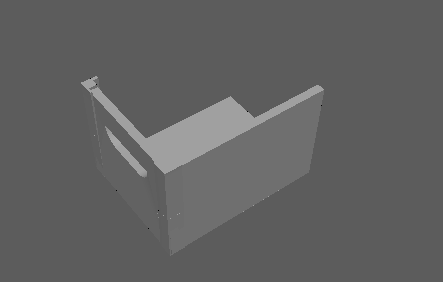
I then created the other boards for my crate by reshaping and flattening a square. I also created the base the same way, creating supporting edge loops as I went to make sure that when its smoothed it will retain it’s shape.

I created the metal strips on the corners by extruding and reshaping a square polygon, then I mirrored it and snapped the vertexes to fit the crate – then mirrored it again to fit every corner. Then my high poly crate was finished.
Overall I had a few struggles and the topology is way off but I mostly enjoyed making this crate. However, I had way more issues with the low poly crate. Instead of creating the indent for the handle I punched the faces out of an extruded and reshaped cylinder.
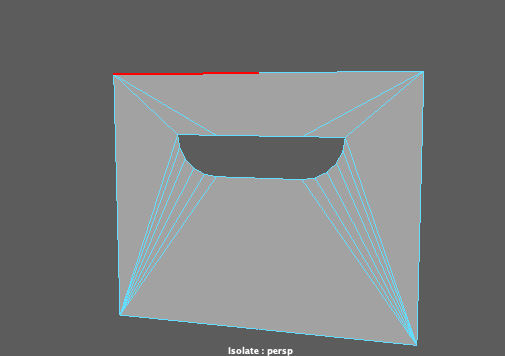
After I had done that I welded the vertices to the corners which created lots of issues in the model but reduced the polys.
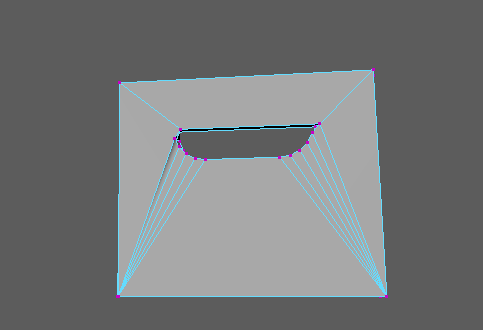
Then after I had extruded the faces to match the thickness of the high poly crate. This made lots of problems I couldn’t fix. It made the shape concave?
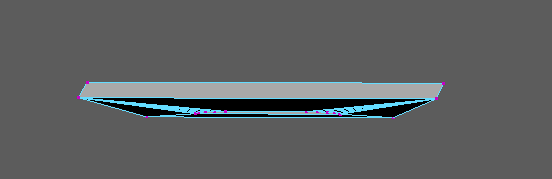
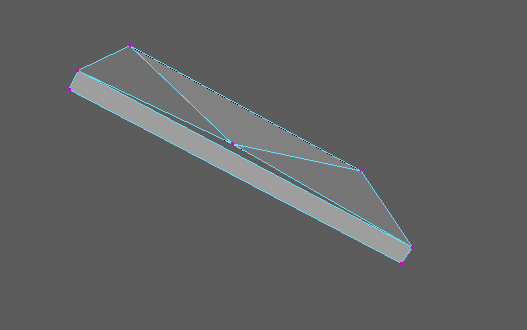
This problem also happened with the side pieces which were made from the handle pieces, but the vertices were merged together even more.
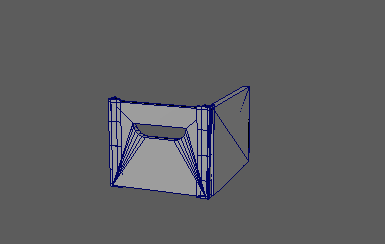
However I finally managed to piece together something presentable, the metal pieces were made by copying the form of the high poly metal pieces.
Overall, I found the low poly crate a lot more difficult, I had lots of issues. Making the crate itself took a day to get my head around. I am very proud of my high poly model though.